Last year my awesome sister-in-law, Rachel, introduced me to Trader Joe's triple ginger snaps. I was hooked. But the nearest Trader Joe's is an hour away from me. I decided to make my own. My final result is more gingery and chewy than Trader Joe's, but I'm happy with them. My family is too!
1 cup brown sugar
3/4 cup butter
1/4 cup molasses
1 egg
2 cups all purpose flour
2 teaspoons baking soda
1 teaspoon salt
2 tablespoons ground ginger
6 ounces crystallized ginger
2.5 ounces fresh ginger
Chop the crystallized ginger in a food processor, you want small chunks. Peel the fresh ginger and chop in the food processor, too. (I may puree it in the blender next time for a more even texture.) Both gingers can go in the same bowl and be set aside.
Mix together the brown sugar, butter, molasses, and egg. In a separate bowl, combine flour, baking soda, salt, and ground ginger. Add the fresh and crystallized ginger to the molasses mixture, then stir in the flour mix.
I like to let my dough rest in the fridge for at least an hour, but you can bake your cookies right away. Either way, preheat your oven to 375. For proper ginger snap appearance, roll dough into 1 inch balls and place on a cookie sheet lined with parchment paper. Personally, I just dropped small spoon-fulls--not as pretty, but still tasty! Bake for 10-12 minutes, then cool on wire racks.
Sunday, May 11, 2014

Monday, April 21, 2014
French Toast
I love French toast. It's pretty much the perfect breakfast. Today I tried a new recipe, and we were all happy with the results.
1/4 cup flour
3/4 cup brown sugar
pinch salt
sprinkle of ginger (to your taste)
sprinkle of cinnamon (to your taste)
3 medium eggs
2 teaspoons vanilla
1 1/2 cup half & half
1 loaf of crusty bread (my local grocery makes an awesome sourdough baguette!)
Slice bread thickly (1/2 to 1 inch) and set aside. Mix together dry ingredients in a bowl, breaking up clumps of brown sugar to the best of your ability. Mix in eggs, then vanilla, then half & half. Get your skillet hot and add butter/margarine/cooking spray (whichever you prefer). Submerge your slices of bread and let them soak for at least 10 seconds. Place the bread in the skillet and brown on both sides.
Thursday, April 10, 2014
Yogurt
Last week I decided to experiment with homemade yogurt. Disclaimer: it wasn't a complete success. Taste was fine, but texture was a bit odd. I think my kitchen was too cold for the bacteria to complete the process. Next time I'll try letting it sit in the oven (turned off, pilot light on) to stay warmer. Now for the recipe and procedure!
1/2 gallon milk (I used whole, but 2% is fine)
1/4-1/2 cup powdered milk (optional)
2 tablespoons plain yogurt (must be active culture!)
Heat milk (and powdered milk) in a crock pot until it reaches 180 degrees Fahrenheit. This kills any bad bacteria that may have somehow gotten into the milk. In my crock pot, this took about 2 hours. Once at 180, turn off the heat and allow the milk to cool down to 110. At the same time, put the yogurt out to get to room temperature.
At 110, gently! mix in the yogurt. Cover and wrap the crock pot with towels or blankets and leave it sitting in a warm corner for 4+ hours. The longer it sits, the more lactose will be digested by the bacteria and the tangy-er the taste will be. Most recipes seem to call for 6-8 hours. I left mine 8, but like I said, my kitchen was cold. After your desired aging time, move the crock pot (still unopened, try not to slosh it around too much) into the refrigerator. Let it sit for at least 4 hours, then stir and put into smaller containers.

I put mine in half pint jars with cherry pie filling, vanilla, and a bit of sugar. The yogurt should be fine in the fridge for about 2 weeks.

1/2 gallon milk (I used whole, but 2% is fine)
1/4-1/2 cup powdered milk (optional)
2 tablespoons plain yogurt (must be active culture!)
Heat milk (and powdered milk) in a crock pot until it reaches 180 degrees Fahrenheit. This kills any bad bacteria that may have somehow gotten into the milk. In my crock pot, this took about 2 hours. Once at 180, turn off the heat and allow the milk to cool down to 110. At the same time, put the yogurt out to get to room temperature.
At 110, gently! mix in the yogurt. Cover and wrap the crock pot with towels or blankets and leave it sitting in a warm corner for 4+ hours. The longer it sits, the more lactose will be digested by the bacteria and the tangy-er the taste will be. Most recipes seem to call for 6-8 hours. I left mine 8, but like I said, my kitchen was cold. After your desired aging time, move the crock pot (still unopened, try not to slosh it around too much) into the refrigerator. Let it sit for at least 4 hours, then stir and put into smaller containers.
I put mine in half pint jars with cherry pie filling, vanilla, and a bit of sugar. The yogurt should be fine in the fridge for about 2 weeks.
Monday, March 24, 2014
Chipped Beef Cheeseball
This is sooo yummy!
You will need:
- a jar dried beef( i used one can and it was fine, just chop those babies up, and reserve some to roll the ball in after you put the other stuff in it!)
-1 (8oz) cream cheese-softened
-2 bunches green onions-chopped
-Worcestershire sauce-to your liking (the dried beef is pretty salty, so just add a lil and taste)
-Then i do add a lil garlic powder and some chopped celery too! It is really good!
Mix all, shape into ball, roll in leftover dried beef, then put in fridge to harden up a bit, then add to a cracker and savor the goodness :)
Ole!
Friday, March 21, 2014
Beef Jerky
I love beef jerky, but it can be so expensive! I have, however, discovered that it is fairly easy to make at home. It's a bit time consuming, but worth the effort!
Marinade
*per pound of beef
1/3 cup Worcestershire Sauce
1/3 cup soy sauce
1 tsp honey
1 tsp black pepper
1 tsp onion powder
1/2 tsp liquid smoke
1/2 tsp red pepper flakes
This is the recipe I started with, but I did make some changes. I discovered I was about a third cup short of soy sauce, and had no red pepper flakes. I increased the Worcestershire sauce to make up for the lack of soy sauce, and added more liquid smoke (because I like it). You can also add garlic, ginger, teriyaki sauce, or whatever you like. Some people don't use Worcestershire sauce due to fish allergies. This recipe is just a general idea, not the one greatest recipe ever! Mix up the marinade in a large glass or plastic bowl and set aside.
Take your meat: thick steak, roast, brisket, whatever you prefer. I used a flat brisket. Trim off as much of the fat as you can. Cut against the grain (it'll turn out tough if you don't, ask me how I know...) into about quarter inch thick strips. Put strips in the marinade and press them down so they are completely covered. Cover the bowl with plastic wrap or aluminum foil. Place in the fridge overnight to 24 hours. The longer it sits, the stronger the flavor will be.
When you're done marinating, preheat your oven to 200 F or as low as it will go. Cover a cookie sheet with parchment paper or aluminum foil. Put an oven safe cooling rack on the cookie sheet. Use a fork or tongs (I prefer tongs) to place the meat strips on the cooling rack. I like to sprinkle on some more pepper before I put them in the oven, other dry spices would also work.
Put the cookie sheet in the oven, and prop the door open a crack. If you have a spare fan lying around, you can point it toward the oven for more air flow. The idea is to dry the meat more than cook it. Leave meat in the oven for 6+ hours until it reaches the desired texture. Times will vary depending on oven temp, air flow, and meat thickness. I like to flip the meat strips every couple of hours for more consistent drying.
An easy way to check whether the jerky is done: take a piece from the oven and let it cool to room temp. Bend it in half. If it tears more than bends, it's done. If it just bends, put it back in the oven!
Sunday, February 16, 2014
MoNsTeR CoOkIeS
I love cookies and anyone that knows me knows I LOVE LOVE LOVE Monster Cookies, in my opinion, Monster Cookies are the best cookies in all of cookie land! I was looking all over for a Monster Cookie recipe and I came across this one and tried it out and loved it! I found this recipe from "Cooking with K"
2. In a large mixing bowl, stir together the eggs, both sugars, vanilla extract, corn syrup, baking soda and salt. Then stir in the melted butter and peanut butter, followed by the oats and flour. Lastly, stir in the chocolate chips, Reese’s pieces and M&M’s. Let the dough rest for 30 minutes.
3. Drop the dough by ¼ cupfuls onto baking sheets. Use your fingers to flatten the dough slightly. Baking for 10-12 minutes, or until the cookies are a light golden brown. Cool on a rack and then store in an airtight container at room temperature. ** I baked mine for about 7-8 minutes so they were nice and gooey!
Ingredients:
3 eggs
1 cup granulated sugar
1 cup light brown sugar
1 teaspoon vanilla extract
1 teaspoon corn syrup
2 teaspoons baking soda
1 teaspoon salt
½ cup (4 ounces, or 1 stick) unsalted butter, melted
1½ cups chunky peanut butter
4½ cups rolled oats
½ cup all-purpose flour
¾ cup chocolate chips ( I only added a few of these)
¾ cup Reese’s Pieces ( I used Reese's Peanut Butter Chips instead)
¾ cup M&M’s ( I used much more than this)
**I also added a ton of butterscotch chips as well. It was a fantastic touch!
Directions:
1. Preheat the oven to 350 degrees F.
1. Preheat the oven to 350 degrees F.
2. In a large mixing bowl, stir together the eggs, both sugars, vanilla extract, corn syrup, baking soda and salt. Then stir in the melted butter and peanut butter, followed by the oats and flour. Lastly, stir in the chocolate chips, Reese’s pieces and M&M’s. Let the dough rest for 30 minutes.
3. Drop the dough by ¼ cupfuls onto baking sheets. Use your fingers to flatten the dough slightly. Baking for 10-12 minutes, or until the cookies are a light golden brown. Cool on a rack and then store in an airtight container at room temperature. ** I baked mine for about 7-8 minutes so they were nice and gooey!
Monday, February 3, 2014
Beef Stroganoff
This post is more about my process than a recipe. You can find beef stroganoff recipes all over the internet, and there are several different ways to prepare it. This is the method I use, and I'm pretty happy with it!


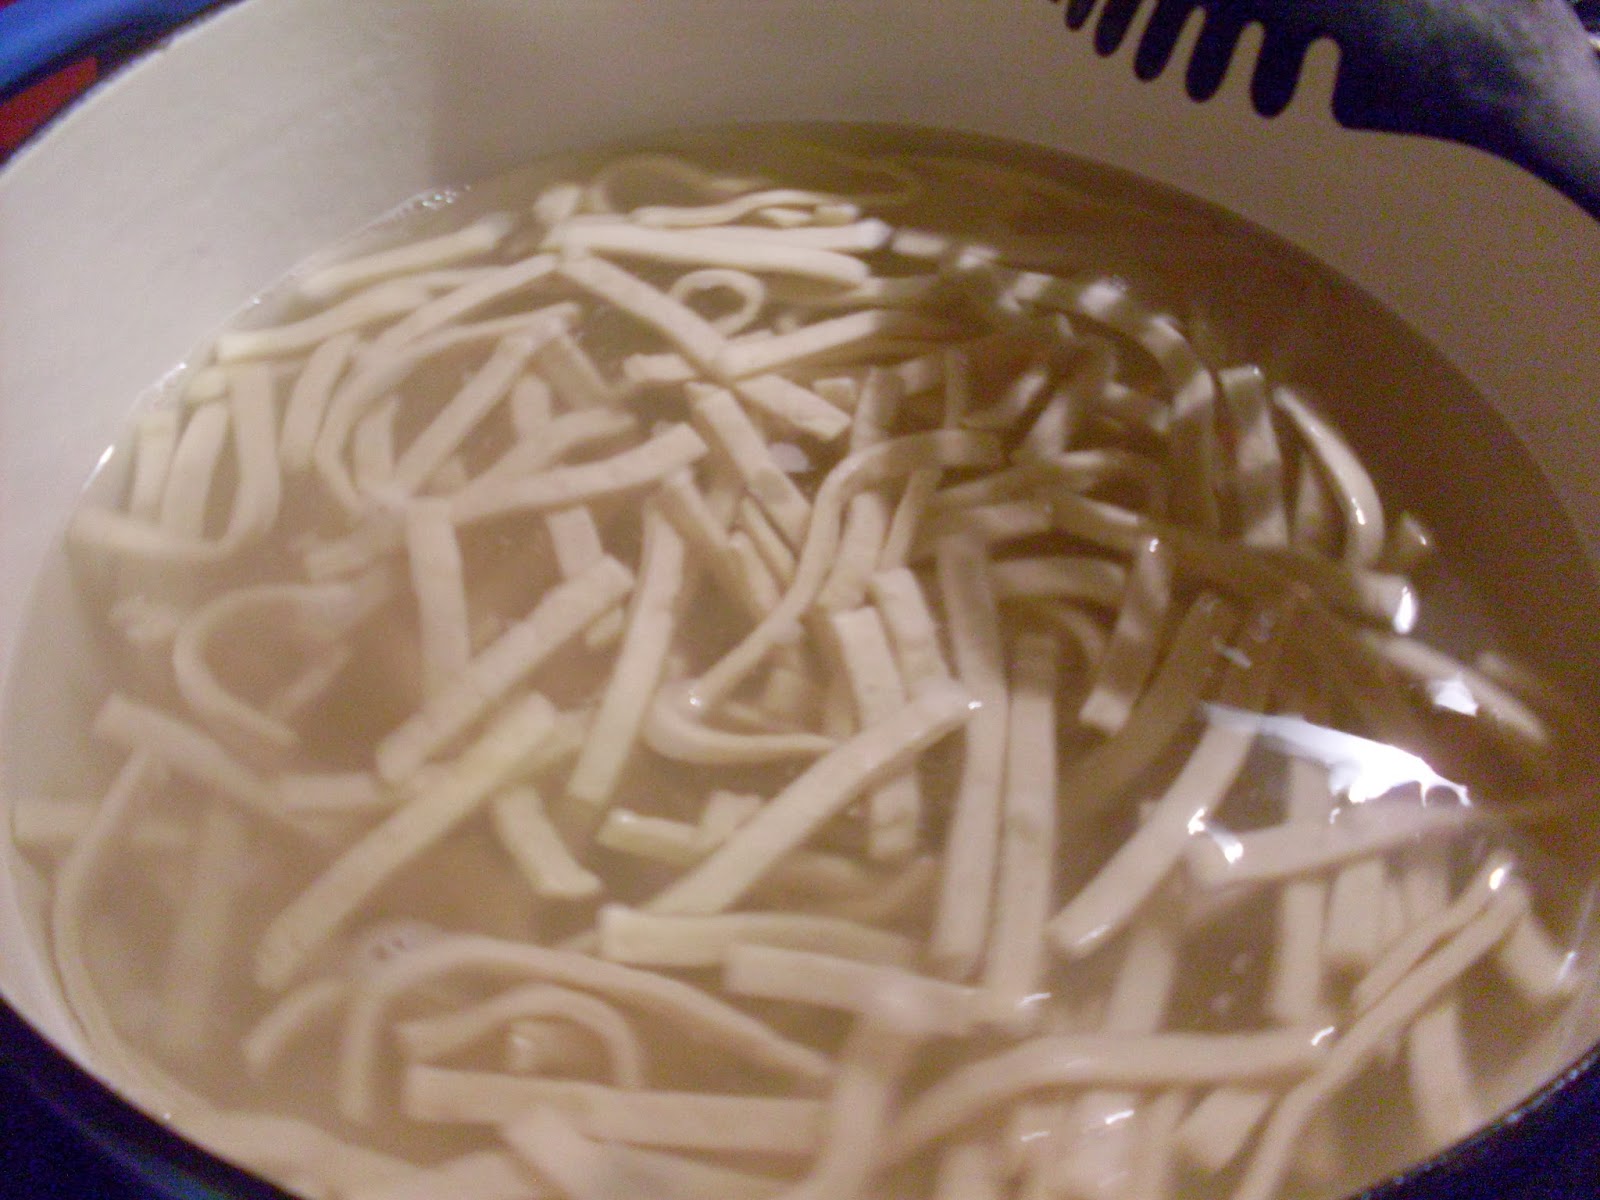


First, our ingredients! You can use any sort of noodles, rice or potatoes that you want, but we've recently become hooked on these frozen egg noodles
I start by pouring the stock into my crock pot and turning it on to warm up.
Out comes my handy cast iron skillet. Melt some butter.
Throw in your onions, mushrooms, and garlic. Saute! For best results, use high heat and stir frequently. I usually add some salt and pepper in this step.
When the veggies are sufficiently cooked, I put half in the crock pot and half in a bowl which goes in the fridge for now.
Return to the now gently used skillet.
Melt some more butter.
Throw in your stew meat, plus some more salt and pepper.
Sprinkle on some flour.
You're not trying to get the meat completely cooked, just mostly browned on all sides. Again, high heat and frequent stirring.
Put the browned meat in the crock pot.
Look at the mess you've made of your skillet! Isn't it beautiful?
Turn on the heat and pour in some wine! I call the next step "simmer and scrape."
You'll wind up with something a lot like this.
Add it to the crock pot, cover, and let cook. I usually add some parsley at this point. I start my crock pot on high until it boils, then turn it down to low.
This is what it looks like after a few hours. It's basically done, the meat is nice and tender. This is a good point to do a preliminary testing and make flavoring adjustments as needed. I added a splash more wine.
Once you're almost ready to eat, make your noodles according to package directions.
Add the rest of the veggies.
And the sour cream.
Mix it all together and do final seasoning adjustments.
Serve over the noodles and enjoy!
Subscribe to:
Posts (Atom)